> ## Documentation Index
> Fetch the complete documentation index at: https://upstash-partnerstash.mintlify.site/llms.txt
> Use this file to discover all available pages before exploring further.
# Deno Deploy
This is a step-by-step guide on how to use Upstash Redis to create a view
counter in your Deno deploy project.
### Create a database
Create a Redis database using [Upstash Console](https://console.upstash.com) or
[Upstash CLI](https://github.com/upstash/cli). Select the global to minimize the
latency from all edge locations. Copy the `UPSTASH_REDIS_REST_URL` and
`UPSTASH_REDIS_REST_TOKEN` for the next steps.
### Create a Deno deploy project
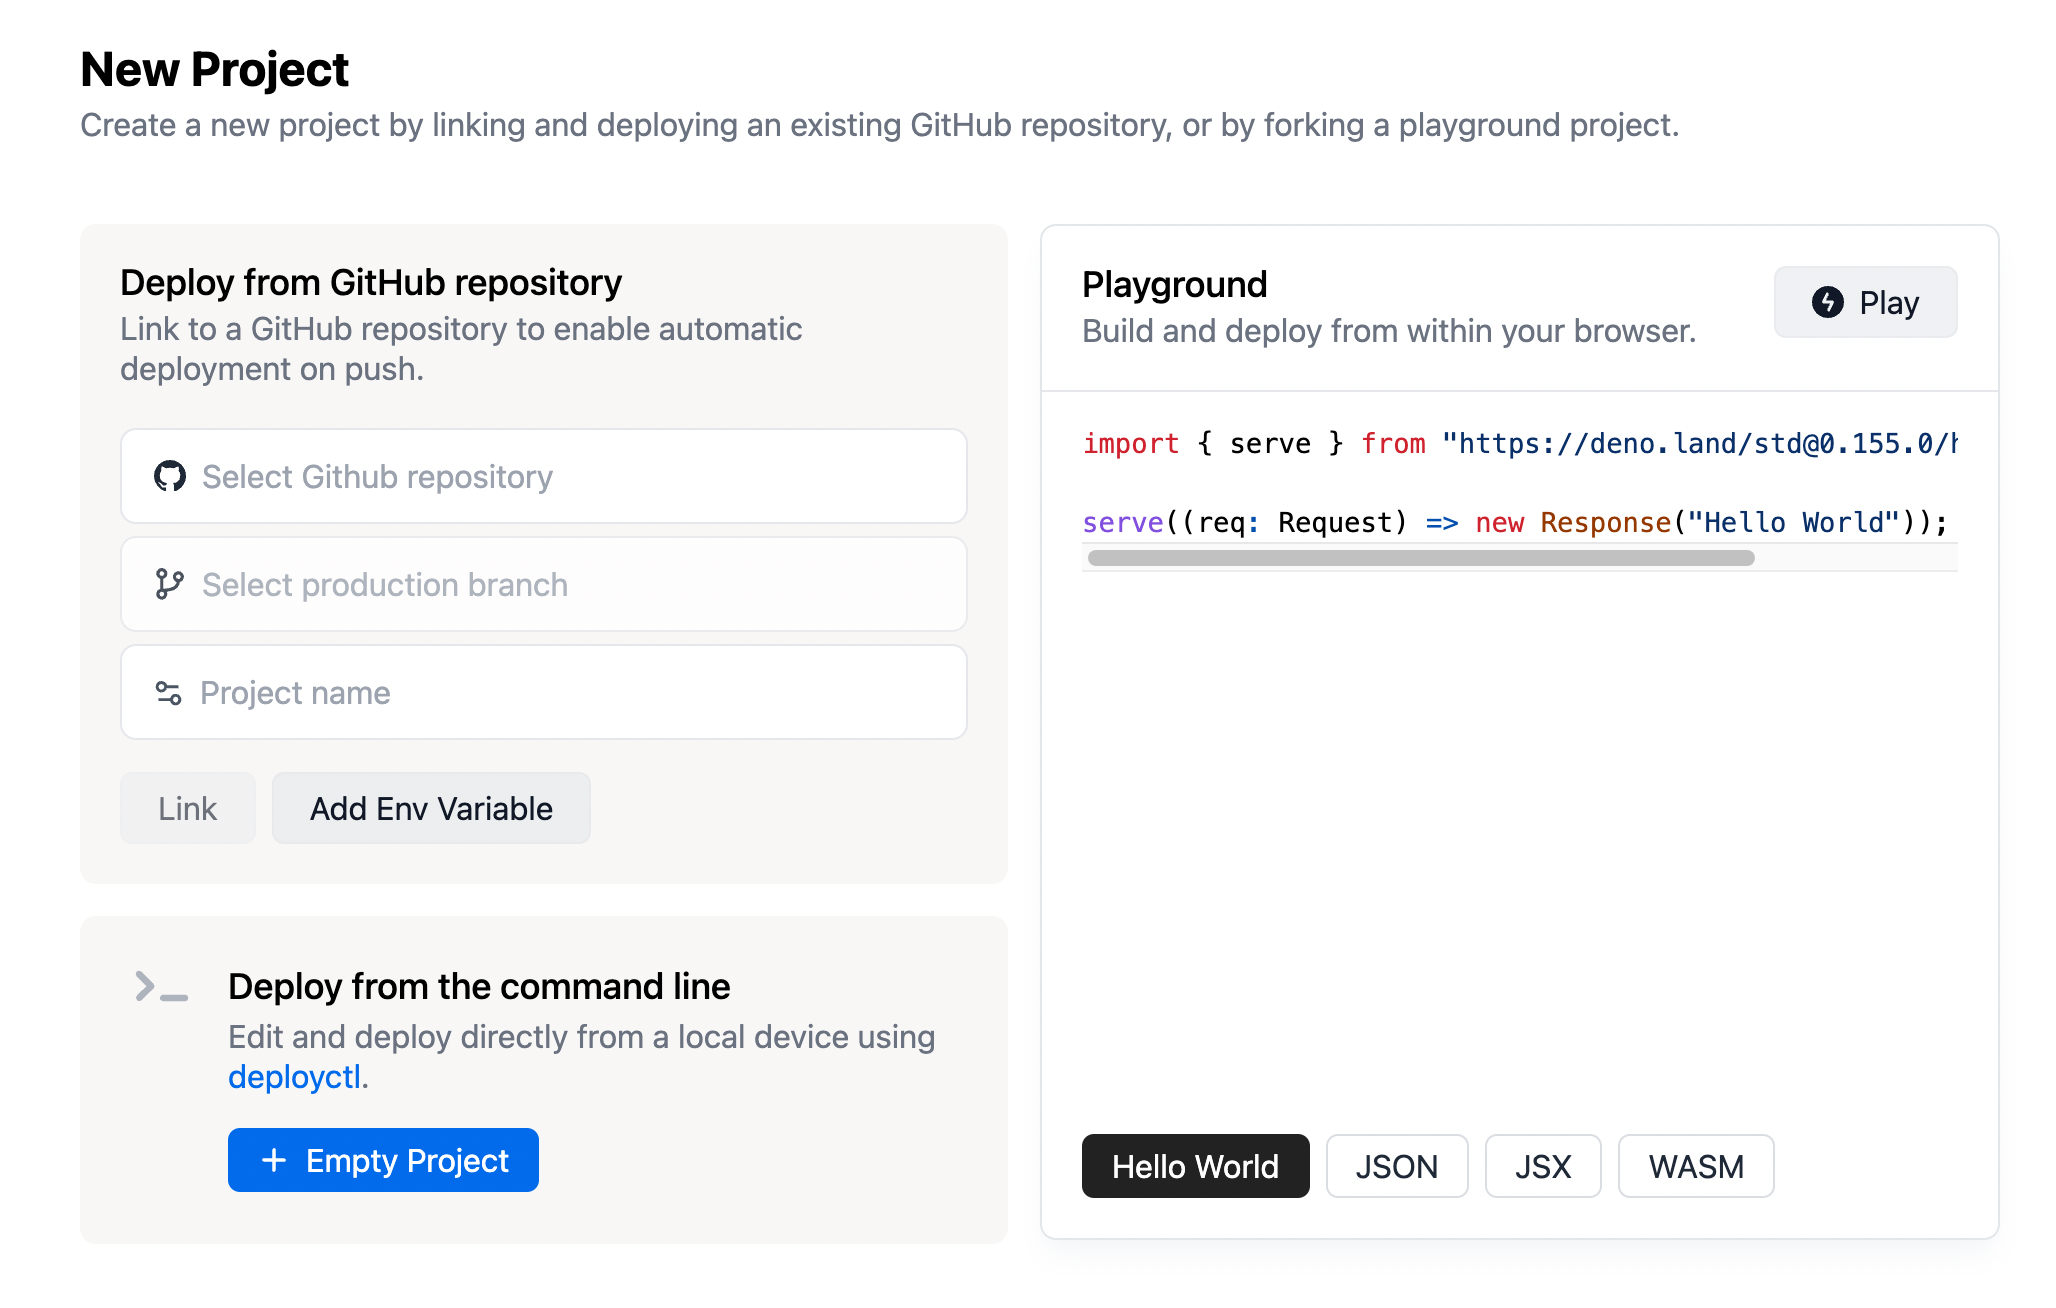
Go to [https://dash.deno.com/projects](https://dash.deno.com/projects) and
create a new playground project.
 ### 2. Edit the handler function
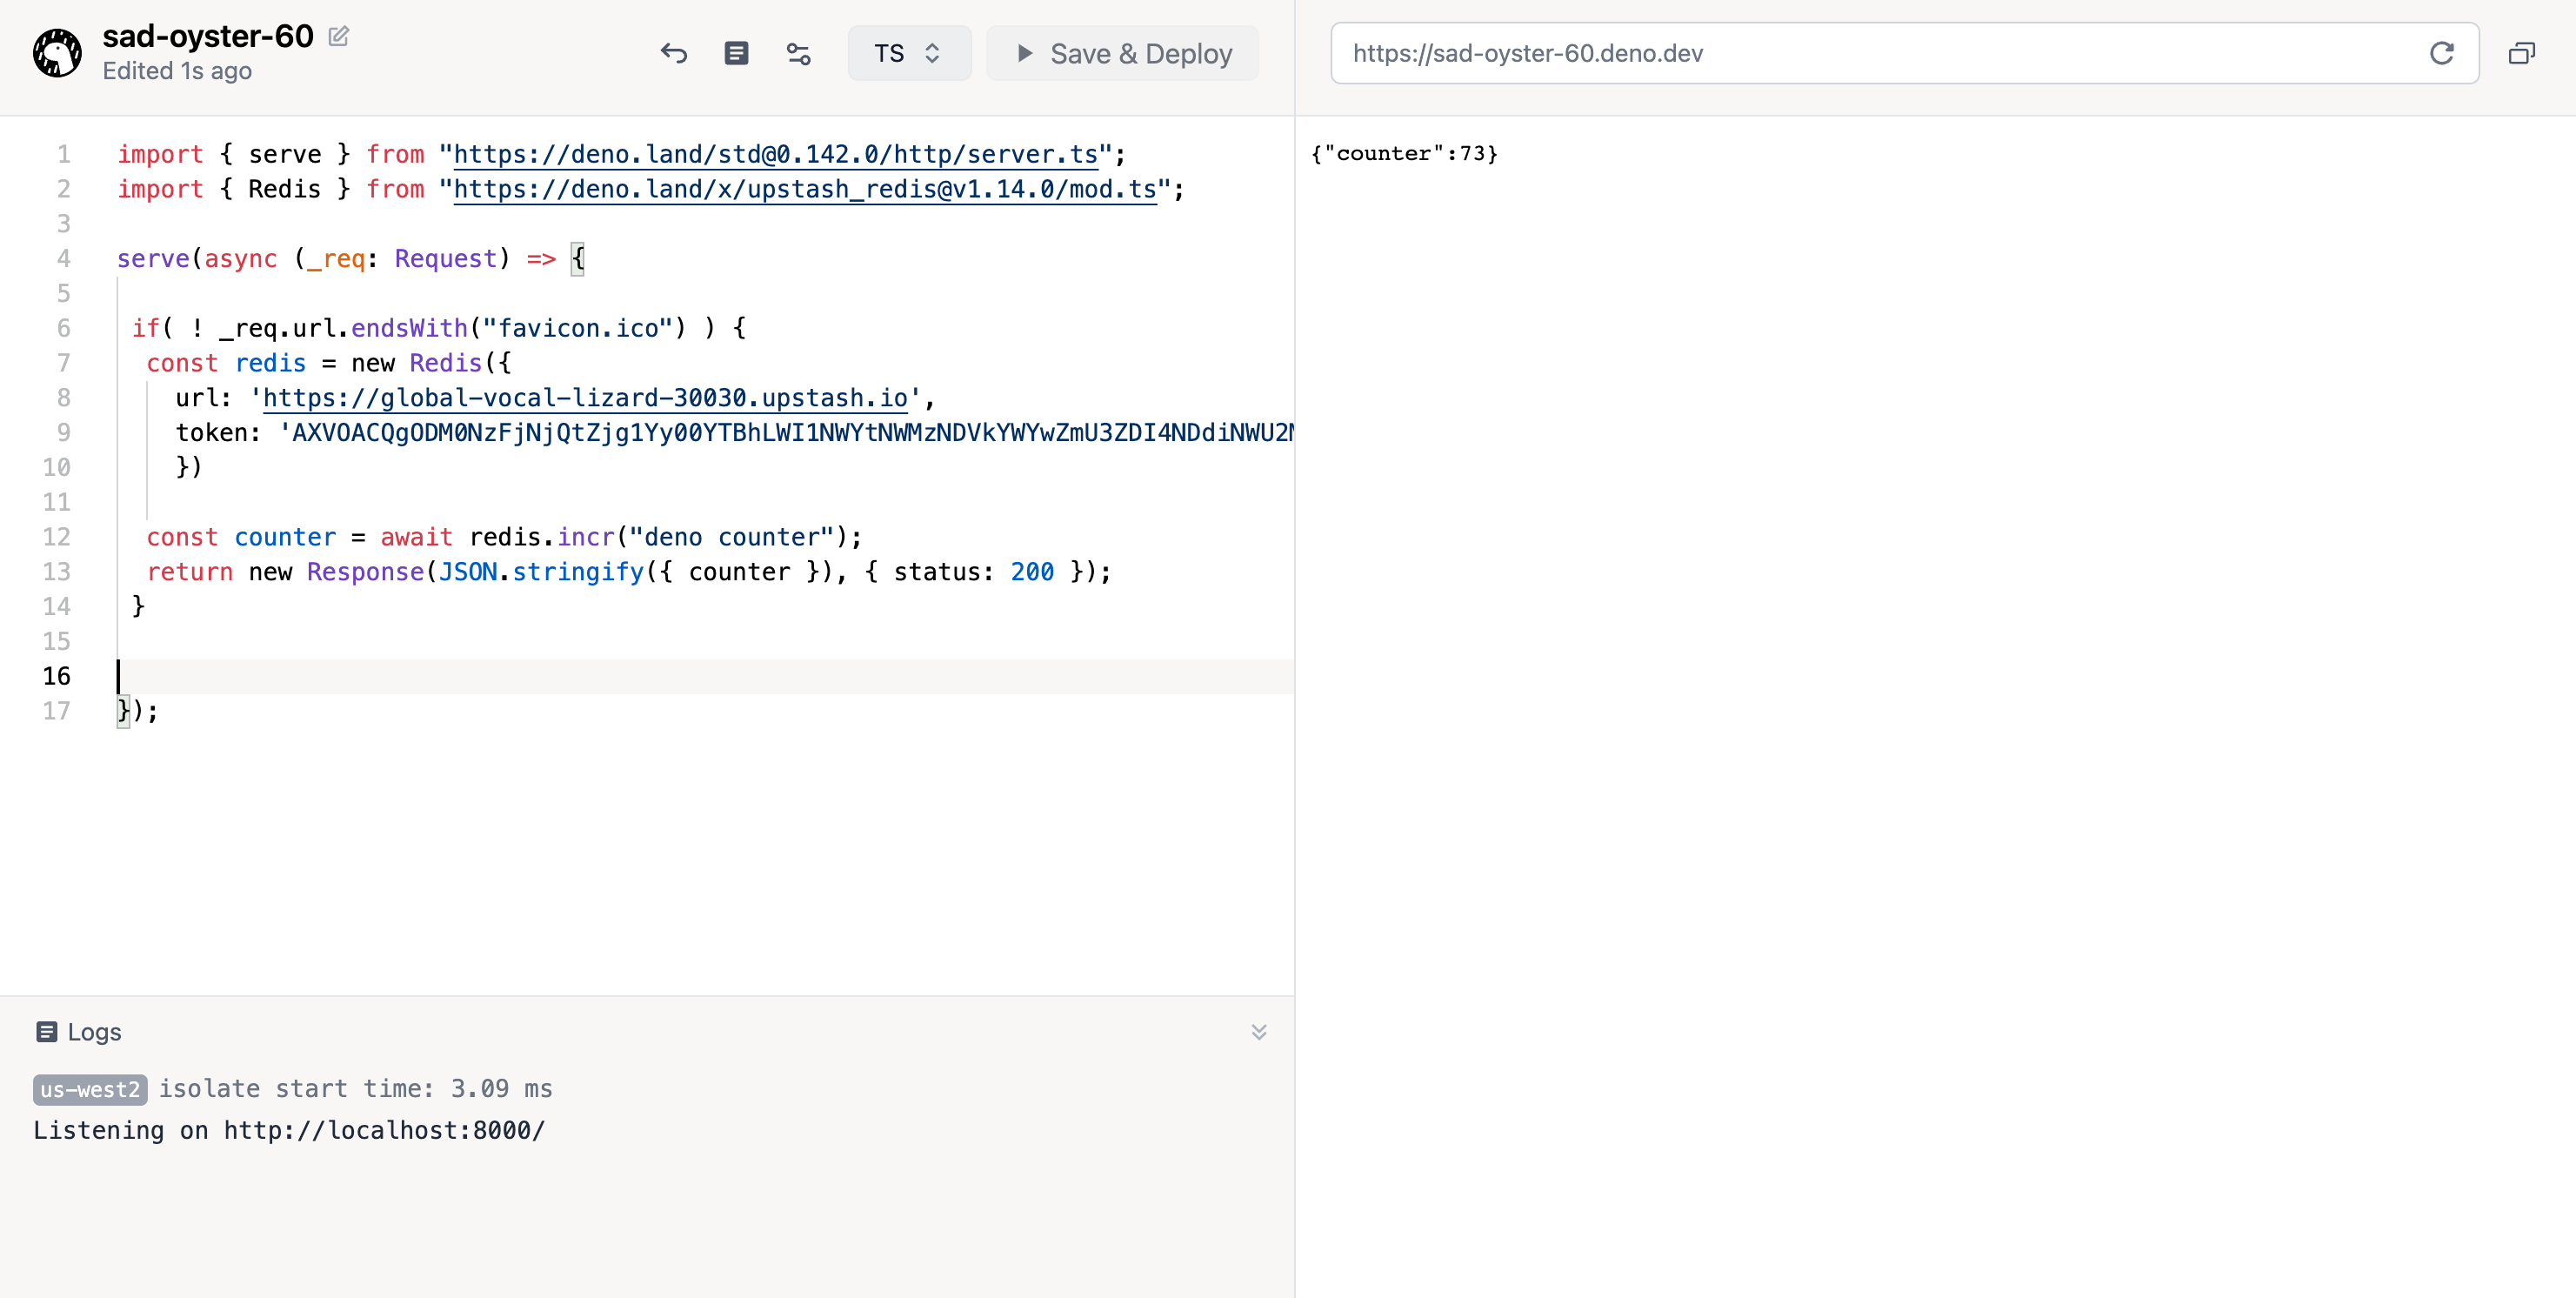
Then paste the following code into the browser editor:
```ts theme={null}
import { serve } from "https://deno.land/std@0.142.0/http/server.ts";
import { Redis } from "https://deno.land/x/upstash_redis@v1.14.0/mod.ts";
serve(async (_req: Request) => {
if (!_req.url.endsWith("favicon.ico")) {
const redis = new Redis({
url: "UPSTASH_REDIS_REST_URL",
token: "UPSTASH_REDIS_REST_TOKEN",
});
const counter = await redis.incr("deno-counter");
return new Response(JSON.stringify({ counter }), { status: 200 });
}
});
```
### 3. Deploy and Run
Simply click on `Save & Deploy` at the top of the screen.
### 2. Edit the handler function
Then paste the following code into the browser editor:
```ts theme={null}
import { serve } from "https://deno.land/std@0.142.0/http/server.ts";
import { Redis } from "https://deno.land/x/upstash_redis@v1.14.0/mod.ts";
serve(async (_req: Request) => {
if (!_req.url.endsWith("favicon.ico")) {
const redis = new Redis({
url: "UPSTASH_REDIS_REST_URL",
token: "UPSTASH_REDIS_REST_TOKEN",
});
const counter = await redis.incr("deno-counter");
return new Response(JSON.stringify({ counter }), { status: 200 });
}
});
```
### 3. Deploy and Run
Simply click on `Save & Deploy` at the top of the screen.